Managing allergens in a mixed-use hospitality site—think hotel with event spaces, café, shared kitchens, and room service—can feel like juggling while blindfolded. I’ve worked on sites like this for years and the single best control I’ve developed is a practical allergen zone map. It’s a visual, operational tool that pinpoints where allergens live, how they travel, and what controls we need to stop cross-contact errors. Below I’ll walk you through a step‑by‑step method I use to create an allergen zone map, plus templates, checklists and real-world tips that you can implement straight away.
Why an allergen zone map matters
An allergen zone map does three things: it visualises risk, standardises responses, and makes training tangible. In a mixed‑use hospitality site, staff rotate between breakfast service, conference catering and banqueting; equipment is shared; delivery bays and storage areas are common; and cleaning schedules can be inconsistent. Without a map you rely on memory and goodwill—both unreliable.
With a clear map you can designate safe zones for allergen-free preparation, identify contamination pathways (e.g., shared slicers, cutting boards, service trolleys), and assign responsibilities for control measures like segregation, labelling, and deep‑cleaning. It reduces errors, supports compliance with UK Food Information Regulations, and ultimately protects your customers and reputation.
Step 1 — gather your site intel
Start with a site walkthrough and a simple audit sheet. I take photos and sketch a floor plan (even a rough one) and note the following:
- All food preparation areas: main kitchen, satellite kitchens, pastry, in‑room service stations, event buffets
- Storage locations: dry stores, fridges, freezers, allergen cupboards
- Service routes: lifts, service corridors, event halls, staff entrances
- Shared equipment: mixers, slicers, fryers, vacuum packers
- Waste and dishwashing flow: dishroom layout, tray return points
- High-risk touchpoints: condiment dispensers, sauce stations, shared condiment trolleys
I recommend using a tablet or phone so you can tag photos and create a simple digital folder for each area. If you have a CAD or site plan, great—if not, a hand sketch works fine.
Step 2 — list allergens and their likely hotspots
Work from the 14 major allergens under UK rules (e.g., peanuts, tree nuts, milk, eggs, gluten, soy, sesame). For each allergen, identify likely hotspots on-site. For example:
| Allergen | Typical hotspots |
|---|---|
| Peanuts | Snack stations, pastry area, supplier deliveries, event platters |
| Milk | Pastry, hot drinks station, dairy fridges, cream dispensers |
| Gluten | Bread service, buffet toast station, shared toasters, pastry bench |
Make this mapping explicit on your site plan—use colour codes or symbols. I use red for fixed high‑risk zones, amber for potential cross‑contact routes, and green for allergen‑controlled or dedicated allergen‑free zones.
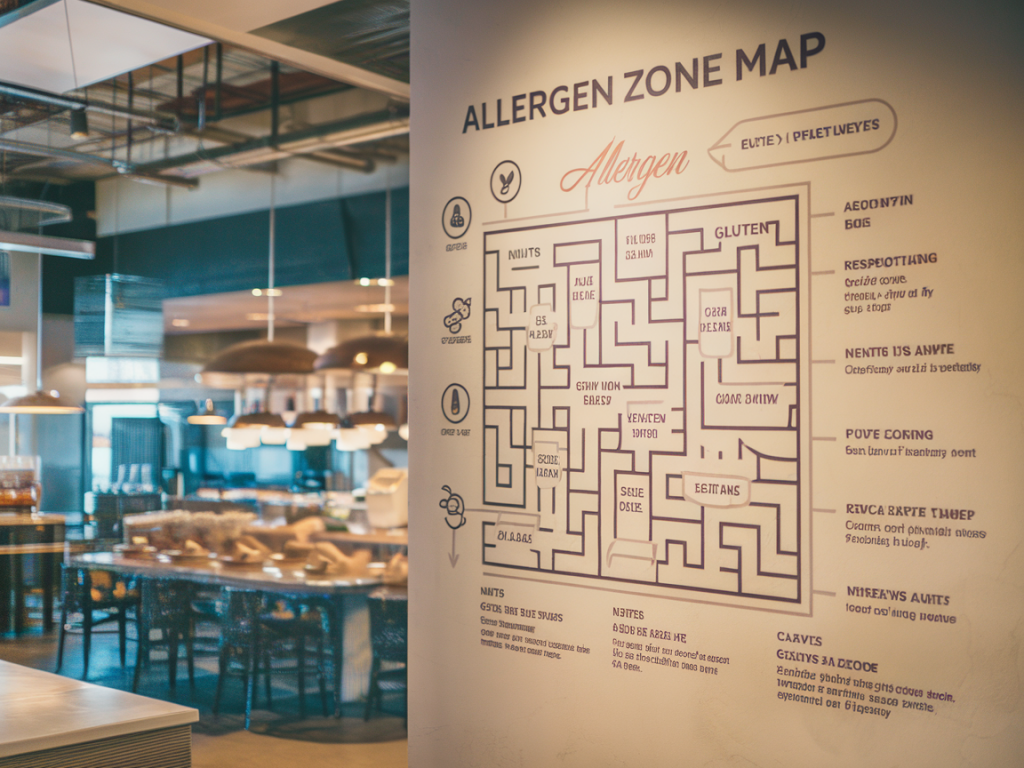
Step 3 — draw your allergen zone map
Transfer what you’ve gathered onto a site plan. If you don’t have digital tools, print the floor plan and mark on it. Key elements to include:
- Colour‑coded zones for each allergen risk level
- Arrows showing service routes and equipment movement
- Icons for shared equipment and storage units
- Designated allergen‑free preparation areas
- Cleaning and sanitising points (e.g., deep‑clean station, mop sink)
Keep it legible—this will be a working document. I laminate a large copy to pin in the staff room and keep copies in each prep area.
Step 4 — set controls for each zone
For each zone, define the controls you will use to manage risk. Controls fall into four categories: segregation, procedural controls, equipment controls, and cleaning/verification.
- Segregation — dedicated fridges, colour‑coded containers, physical barriers, separate prep benches.
- Procedural — recipe labeling, advance allergen warnings for events, order-taking protocols, single‑use gloves policy when handling allergen orders.
- Equipment — assign dedicated slicers or use pre‑sliced delivered products; use labelled utensils and colour‑coded boards (e.g., blue for gluten‑free).
- Cleaning & verification — validated cleaning procedures, ATP swab checks, and logging after allergen tasks.
Example control entry in the map:
| Zone | Allergen | Control | Responsible |
|---|---|---|---|
| Pastry Bench | Eggs, Nuts | Dedicated bench for nut‑free items; daily deep‑clean after production; labelled tubs | Pastry Chef |
Step 5 — create operational checklists and SOPs
Maps are useless if not backed by operational SOPs. For every control in your map, create a short SOP or checklist. Keep these visible and simple. A sample SOP for a dedicated allergen‑free prep zone might look like:
- Confirm daily that the zone is free of allergenic ingredients before use (log time & initials)
- Only use labelled, colour‑coded equipment stored in the adjacent cabinet
- Sanitise surfaces with approved agent (e.g., Ecolab SURE® or Diversey Oxivir) and log cleaning
- All items leaving the zone must be sealed and labelled with allergen status
Step 6 — train, test and iterate
Training has to be practical and frequent. I run short 15‑minute zone walkthroughs during shift handovers and monthly simulated allergy requests to test the SOPs. Use real scenarios: a delegate at a conference with a peanut allergy, a room service order requiring dairy‑free items at 02:00. After each drill, update the map and SOPs with lessons learned.
Step 7 — monitor and maintain
Assign ownership. On sites I’ve managed, each operational area has an “Allergen Champion” who does daily visual checks, completes a quick log, and escalates issues. I recommend a quarterly review where you:
- Audit compliance with the map and SOPs
- Review incident logs for cross‑contact or near misses
- Update the map for layout or menu changes
Practical tips and product suggestions
Little investments make a big difference:
- Colour‑coded cutting boards and utensils from brands like Victorinox or San Jamar reduce mistakes.
- Label printers (Brother, Dymo) for clear ingredient and allergen labelling.
- ATP swab systems (e.g., 3M Clean‑Trace) for validating cleaning efficacy in high‑risk zones.
- Use laminated maps and dry‑wipe markers for daily annotations.
Also, keep supplier communication tight. Ask suppliers to confirm allergen statements in writing and consider receiving allergen‑labelled deliveries in a designated bay to reduce storage cross‑contact.
Quick checklist to start today
- Walk the site and photograph prep, storage and service routes
- Map the 14 allergens to likely hotspots
- Draw a colour‑coded allergen zone map and post a laminated copy
- Create one SOP per zone and a short daily checklist
- Assign an Allergen Champion and schedule drills
- Use ATP testing periodically and log deep‑cleans
Implementing an allergen zone map doesn’t require perfection on day one—start simple, be consistent, and iterate based on real incidents and staff feedback. The map is a living tool that turns policy into practice and helps teams make safer, faster decisions when it matters most.